
A broken or a problematic screen can be irritating and inconvenient, but don’t worry! Las Vegas repair service has got your back with this step-by-step guide to laptop screen repair. Here is a detailed guide about how to go through the process of screen repair.
12 Steps To Repair A Laptop Screen
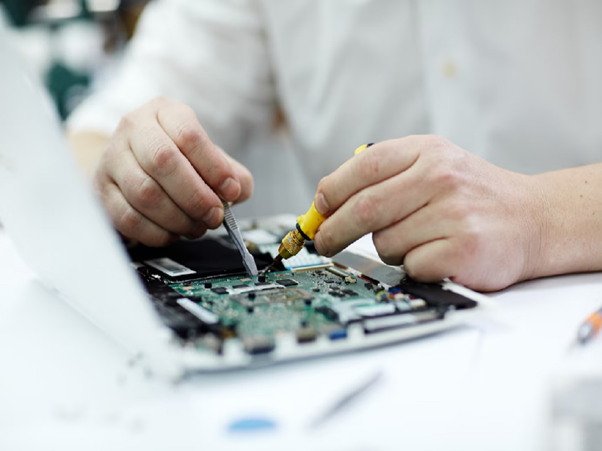
Collecting Tools
Start with collecting all the important tools and materials. This is the foremost thing to initiate with so that you don’t face any inconvenience during the process. The basic tools that you will need are: prying tool, screwdriver, screws, new screen and other important parts required for the replacement.
Power Off The Laptop
As the next step you need to power off your laptop and unplug it. It is vital to unplug any power sources to make the process safe from any sort of electric hazard.
Remove The Battery
Now, remove the battery if required. Read carefully about your laptop’s model as some of the laptops need the battery removal in order to replace the screen. Make sure to remove the battery carefully to avoid the damage of any components.
Remove The Frame/Bezel
Remove the bezel or the frame around the screen to get access to the screen without any hassle. Remember not to exert pressure while removing the frame as it can damage the screen. Use a prying tool or a screwdriver to gently remove it.
Disconnect All The Cables
Disconnect all the cables from the screen. Make sure you remember all the connections as you will have to connect them back to the new screen. Moreover, remove the cables carefully as they are the major factors behind the functions of the screen because they connect the screen to the motherboard.
Remove The Screen
Remove the screen from the laptop. Remove it gently to make sure you don’t lose any screws. Place the screen on a clean surface and remove all the screws. This is the easiest step in the whole process, but requires a delicate and gentle approach to remove the screen safely.
Attach The New Screen
Once you are done with removing the old screen, you are ready to install the new screen. Put the new screen on the laptop and connect all the cables that were removed earlier. Make sure to connect the right cables in order to have proper function of the laptop.
Test The New Screen
At this step before you assemble the laptop, make sure to test the new screen to check if it is functioning properly or not. Reconnect the battery and plug in the power source of the laptop to test the screen. If the screen is working properly without any issues that means you are good to go after assembling the laptop.
Reassemble The Laptop
Now you may reassemble the laptop. Connect the frame carefully on the screen, ensuring that each screw is fitted perfectly in order to avoid further damage to the laptop. Double check all the screws and connections and your laptop is ready!
In conclusion, you should know about the basics of this process to ensure that you don’t fall prey to the scam of any repair service.